
How to Create a Digital Surface Model (DSM) Using Drone Imagery: A Step-by-Step Guide
- Anvita Shrivastava

- May 14, 2025
- 2 min read
Generating a Digital Surface Model (DSM) from drone imagery is an essential process in contemporary geospatial analysis, agriculture, urban planning, and environmental monitoring.
What Is a Digital Surface Model (DSM)?
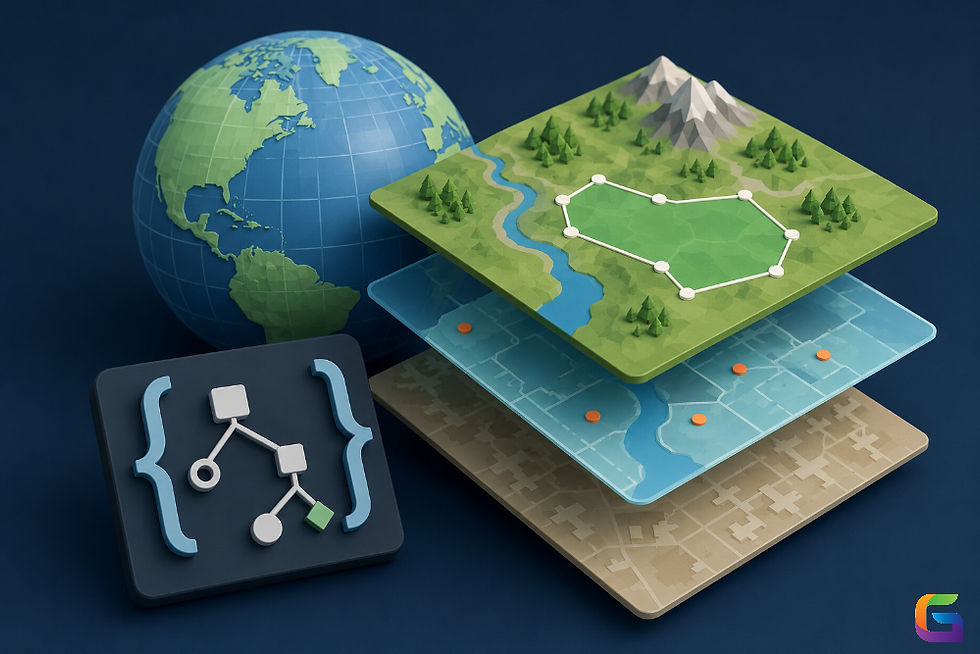
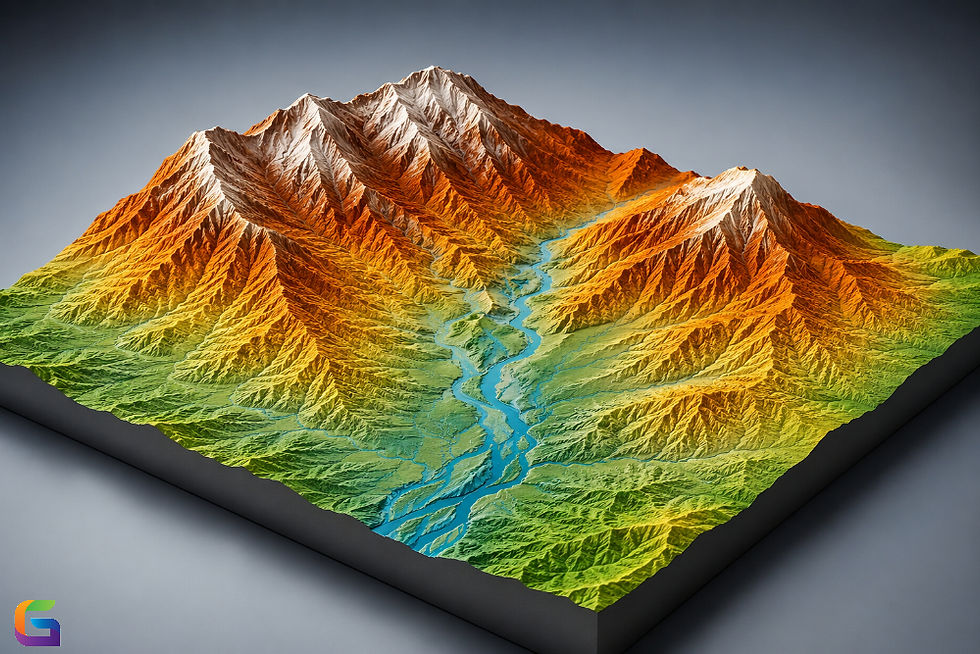
A Digital Surface Model (DSM) represents the Earth's surface and includes all objects on it, such as buildings, vegetation, and infrastructure. It differs from a Digital Terrain Model (DTM), which excludes these features and shows only the bare ground surface.

DSM data is essential for:
Urban development and planning
Flood risk analysis
Forest canopy studies
Line-of-sight analysis
3D modelling and visualization
Step 1: Plan Your Drone Flight
The first step in creating a DSM is capturing high-resolution aerial images using a drone.
Tips for Optimal Flight Planning:
Choose the right drone: Use a drone with a high-resolution camera and GPS-enabled flight system (e.g., DJI Phantom 4 RTK, Mavic 3 Enterprise).
Flight altitude: Fly between 50–120 meters, depending on the required resolution.
Overlap: Set image overlap to at least 75% front and 60% side for accurate 3D reconstruction.
Lighting: Fly during consistent daylight—avoid harsh shadows by flying around midday.
Tools to Use:
DroneDeploy
Pix4Dcapture
DJI GS Pro
Step 2: Capture Aerial Imagery
During the flight, your drone will automatically take overlapping images along the planned path.
Ensure:
Images are geotagged
Weather conditions are clear (no rain or high wind)
Batteries are fully charged for uninterrupted data capture.
Step 3: Import Images into Photogrammetry Software
After the flight, import your imagery into a photogrammetry software that can process it into a DSM.
Popular DSM Creation Software:
Pix4Dmapper
Agisoft Metashape
DroneDeploy
RealityCapture
Steps in Software:
Upload images
Align photos (Structure-from-Motion)
Generate a sparse point cloud.
Create a dense point cloud.
Build the DSM from the dense cloud.
Most software solutions will automatically generate the DSM after processing.
Step 4: Georeference and Check Accuracy
For precise mapping, you may need to include Ground Control Points (GCPs) collected using RTK GPS or total stations.
GCPs help align your DSM to real-world coordinates.
Use software tools to mark GCPs on images.
Check RMSE (Root Mean Square Error) to ensure spatial accuracy.
Step 5: Export the DSM
Once the DSM is generated, export it in a format suitable for your needs:
GeoTIFF, IMG, ASCII Grid, BIL/BIP/BSQ, NetCDF – for GIS applications
For point cloud format - LAS/LAZ, XYZ, PLY
OBJ or LAS – for 3D modelling
PNG or JPG – for quick visualization
You can then import the DSM into GIS platforms like QGIS, ArcGIS, or 3D modelling software for analysis.
Creating a DSM using drone imagery is easier than ever with the right tools and workflow. From planning your flight to processing the data in photogrammetry software, every step plays a critical role in the quality of your final DSM.
For more information on Digital Surface Model (DSM) Using Drone Imagery, please feel free to contact us at:
Email: info@geowgs84.com
USA (HQ): (720) 702–4849
India: 98260-76466 - Pradeep Shrivastava
Canada: (519) 590 9999
Mexico: 55 5941 3755
UK & Spain: +44 12358 56710

Comments